Exercises (3161)
Speedminton: Conscious stroke execution
Forms of play / exercises
Groups of 2

Passing game in teams of two; during the passes, the partner is asked for the type of shot, but before the speeder has crossed the centre zone (e.g. forehand, backhand, overhead, hand change or rotation on its own axis).
Per participant:
1 speedminton racket
Per group:
1 speeder
Speedminton: Accuracy
Forms of play / exercises
Groups of 2

Passing game in teams of two; both players stand so that they have little freedom of movement (e.g. on a long bench, a vaulting box or in a hoop).
Variant:
Only one player has limited freedom of movement.
Per participant:
1 speedminton racket
Per team:
1 speeder
2 length benches / vaulting box
Speedminton: Skill
Forms of play / exercises
Groups of 2
Passing game in teams of two; every third or fifth touch of the ball, the speeder should be caught and stopped by the player
.Per participant:
1 speedminton racket
Per group:
1 speeder
Speedminton: controlled hitting and stopping
Forms of play / exercises
Groups of 2

Passing game in teams of two; before hitting back, however, the speeder is played vertically upwards and only then hit back again.
Per participant:
1 speedminton racket
Per group:
1 speeder
Speedminton: Circle game
Forms of play / exercises
Group work
6-8 participants form a circle. The game is played with a speeder, which should stay in the air as long as possible.
Variant:
Multiple speeder.
Per participant:
1 speedminton racket
Per group:
1 speeder
Speedminton: Marathonspiel
Forms of play / exercises
Groups of 2
Two players pass the speeder to each other as often as possible in a given time and count the passes. All pairs have the same distance to each other. The pair with the highest number of passes wins the game.
Per participant:
1 speedminton racket
Per team:
1 speeder
Speedminton: Round robin
Forms of play / exercises
Group work
Several speedminton courts are laid out. 4-10 players play on each court, evenly distributed over both halves of the court. The foremost players on both sides are in the court and play the speeder to each other. The remaining players wait in single file behind the playing field until it is their turn. After each shot, the respective player runs to the opposite side, lines up at the back and waits for their next shot. The player at the front of the column becomes the new batter. If a player makes a mistake (hit into the outfield or speeder falls to the ground in their own court), they are eliminated from the game. The last 2 players play a final game to 3 points.
Variant:
Ejected players have the chance to return to the game by the player who threw them out (i.e. last speeder touch before the error) being eliminated in turn.
Per team:
1 speedminton racket
Pitch:
1 speeder
Speedminton: Change hands
Forms of play / exercises
Groups of 2
Passing game in teams of two; change of hands after each shot. Who makes fewer mistakes?
Per participant:
1 speedminton racket
Per group:
1 speeder
Speedminton: Game
Forms of play / exercises
Group work
Single game for a certain number of points (e.g. 10). If the group size is uneven (e.g. 3 participants), one player enjoys a break, whereby the duration of the game is reduced (e.g. 7 points) so that waiting times are shortened.
Additional task Strengthening:
After each game, the loser completes a strength exercise: 5x push-ups
2 speedminton rackets
1 speedminton shuttle
8 marker cones
Speedminton: Staffellauf
Forms of play / exercises
Teamwork
Pendulum relay with several teams (participants of the teams are evenly distributed on markers approx. 20 metres apart). Each team has a bat and a speeder. The first runner from each team must balance the speeder with the bat to the other side and hand the bat and speeder to the next runner. If the speeder falls down, it must be picked up and placed back on the bat. Each player completes two runs (i.e. the players are in the same position at the end as at the beginning).
Variant:
The players must hit the speeder into the air at least 10 times during the race.
Per participant:
1 speedminton racket
Per team:
1 speeder
Speedminton: Exercises for beginners
Forms of play / exercises
Individual work

Juggle speeder in various positions (smooth transitions):
- standing
- walking
- sitting
- on your stomach
- on your back
- running
- walking backwards, etc.
Per participant:
1 speedminton racket
1 speeder
Speedminton: Changeover
Forms of play / exercises
Groups of 2

Passing game in teams of two; the players sit opposite each other and pass the speeder to each other. From this position, the players take it in turns to lie on their backs without interrupting the rally.
Per participant:
1 speedminton racket
Per group:
1 speeder
Mirror run
Light-Contact
Partner work


Two participants stand opposite each other. One participant moves to the side with a step. The feet remain shoulder-width apart, the foot closer to the direction of movement initiates the movement. The weight is on the balls of the feet, the steps are springy and gliding. The partner constantly tries to remain facing him and imitate all (arm) movements. After a while, the roles are swapped.
No material required
Mirror jump
Light-Contact
Partner work


Two participants stand opposite each other on one leg and both hold their fists at head height. One participant sets the positions by jumping with one leg between the tyres laid out on the floor (identical tyre arrangement for both participants). The second participant tries to re-establish the same distance as quickly as possible. After a certain time, change the jumping leg and/or the rollers.
Per group:
8 tyres
Play with howler
Games / Tournament
Play idea:
The team in possession of the howler attempts to move the ball in the direction of the targeted end zone. The opposing team tries to prevent this movement and force possession of the howler by means of a "turnover" (see rules of the game). The howler may only be moved by throws from one player to the other.
Scoring points:
The aim is to catch the howler in the opposite end zone following a pass from a team-mate and thus score a point.
Playing field:
Rectangular field with an end zone at each end. 64mx37m with 18m outdoor end zone, 40mx25m with 15m indoor end zone.
The pitch is bounded by cones. The connections between them form the side or out lines.
Number of ends:
7 against 7 outdoor, 5 against 5 indoor
Game rules:
At the start of the game and after each point, the teams line up on their end zone line. The team that starts or has just scored throws a high, long pass towards the opponent's end zone (throw-off). As soon as the howler is released, all participants may move freely on the field.
The howler may be thrown in any direction. The player with the howler in his hands may neither walk nor run, only star steps are allowed. However, if the toy is caught during the race, the movement may be slowed down by the required number of steps. The howler may not be handed over, but must move from A to B through the air. If the attackers are unable to catch the howler (the howler touches the ground, flies out of bounds or the opponent intercepts it or knocks it to the ground), the defending team gains possession of the howler and attacks. This is referred to as a "turnover". There is no interruption to the game.
The defender covering the thrower must keep at least an arm's length away. Only one player may cover the thrower at a time; the next defender must be at least three metres away. The attacker must play the howler after a maximum of 10 seconds. To signal this, the defender counts the seconds out loud.
Body contact or tackling is not permitted. Each player is responsible for signalling an infringement of the rules. There is no referee. Fair play is therefore very important. If an attacker and a defender catch the howler at the same time, it belongs to the attacker.
Optional: After a successful point is scored, the teams switch sides. The team that scored the point then starts again with a throw-off towards the opposing team.
Game ribbon ball
Increase pulse
Group work
2 teams
Each team sets up objects on a line (e.g. baseline) through which a ball can be passed by foot (e.g. vaulting box elements or long benches). 2-3 game ribbons are placed on the elements. Each time a team scores a goal, a game ribbon is removed from this object. Elements on which there are no more ribbons are no longer attacked. Which team will be the first to remove all the game ribbons from the goals, or which team will have eliminated more game ribbons after a certain time?
1 football
4 Swedish box parts
2 long benches
x game ribbons
1 stopwatch
6 marking cones
Sprinting/throwing an object
Power
Individual work
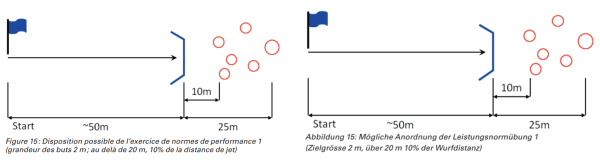
Purpose
Training and testing of the throwing technique
Additional equipment
5 HG 85 throwing gun
Starting position
lying down, Stgw with empty magazine
Procedure
Sprint 50 m into a throwing position (target time 15 s)
5 throws from different throwing distances
Conditions
4 hits and 3 different freely selectable throwing distances
Notes
If no realistic HG targets are available, marked target areas can also be used (e.g.
for reasons of efficiency, several throwers should be able to practise at the same time.
with an increased routine, the requirements in terms of throwing distance should be increased.
Material per participant: Tenue CNM
Additional material: 6 G-discs with posts, 3 fanjons, 2 red/white marking tapes, 2 boxes with 16 HG 85 clay pellets
Sprinting
Power
Individual work

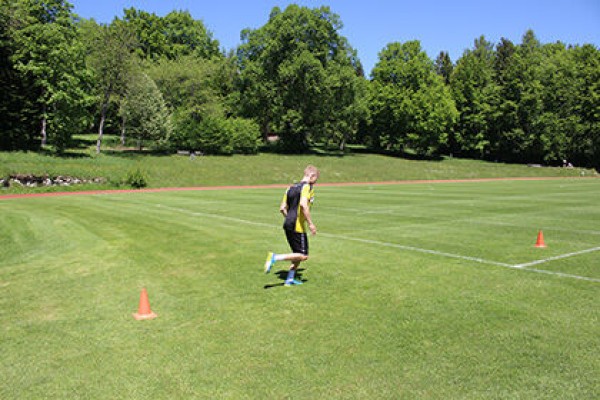
Cover a given distance (between 10-20 metres) as quickly as possible/at a sprint (if necessary, shuttle back and forth between the markers several times).
Lighten:
Lower speed.
Harden:
Higher speed.
Variant:
Do not sprint but change your gait between the markers (e.g. backwards, on all fours, crawling, etc.).
2 marinating cones/caps/colouring sticks
Jump
Coordination exercises
Individual work
Stand on the slackline with your front foot straight and your back foot across the line. Perform a jump without changing your basic position.
Easiern:
Perform the exercise closer to the attachment.
Harder:
Perform the exercise in the centre of the slackline.
1 Slackline
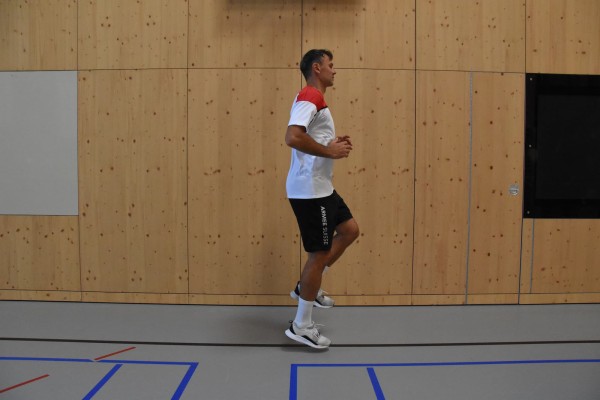
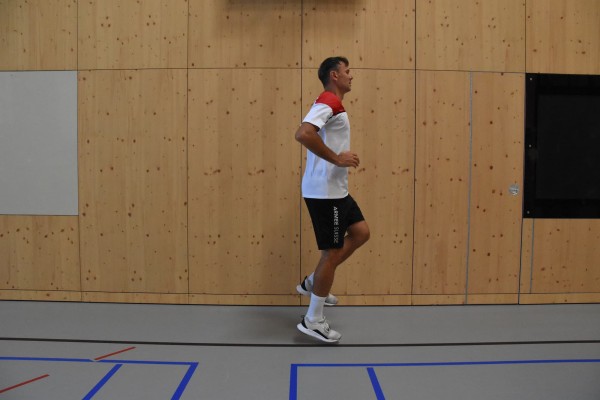
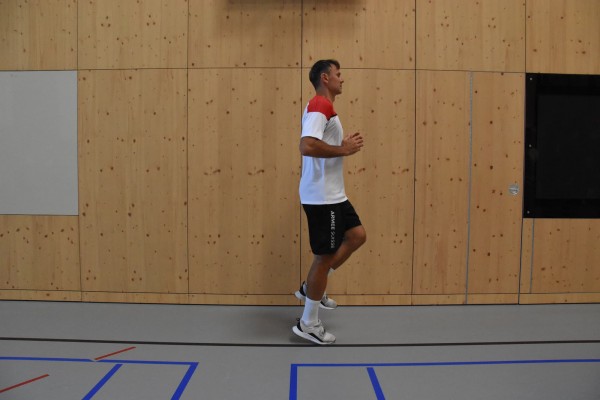
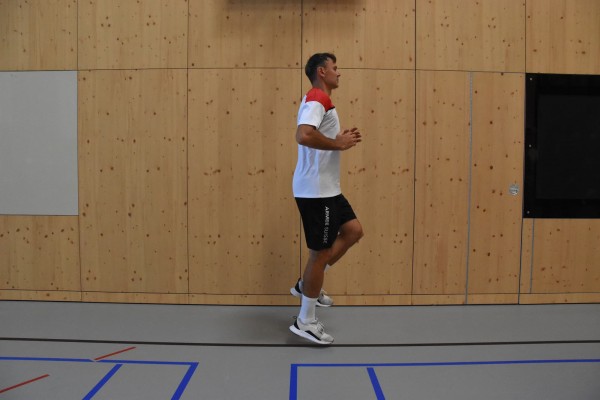
Jump in place
Power
Individual work

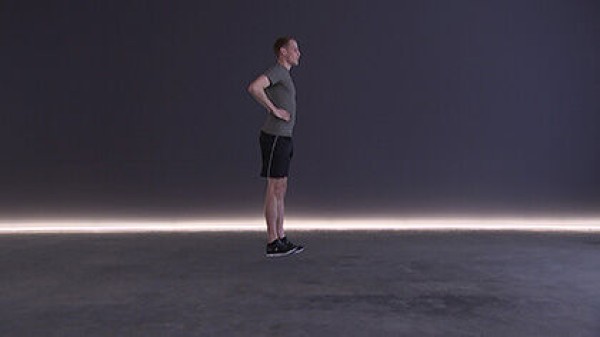
Stand upright with your feet shoulder-width apart, arms supported on your hips or bent in front of your body. Powerful jump vertically into the air.
Attention:
Keep your upper body upright (keep your core tensed).
Lighten:
Smaller/less intense jumps.
Harden:
Larger/intensive jumps; additional weight (on the chest/shoulders, hold in the hands, hold in front).
Variation:
With each jump, pull the tips of your feet towards your knees (bend your feet).
2 weight cuffs/short dumbbells/1 weight vest/weight disc/(medicine) ball/sandbag/fighting backpack ► Make the exercise more difficult (additional weight)
Jump in place one-legged (left)
Power
Individual work


One-legged stand (left), arms supported on the hips or bent in front of the body. Powerful jump vertically into the air.
Attention:
Keep your upper body upright (tense your core).
Lighten:
Smaller/less intense jumps.
Harden:
Bigger/more intense jumps; additional weight (on your chest/shoulders, hold in your hands, in front of you).
Variation:
With each jump, pull the tips of your feet towards your knees (bend your feet).
1 weight cuff/weight vest/weight disc/(medicine) ball/sandbag/fighting backpack/2 dumbbells ► Make the exercise more difficult (additional weight)
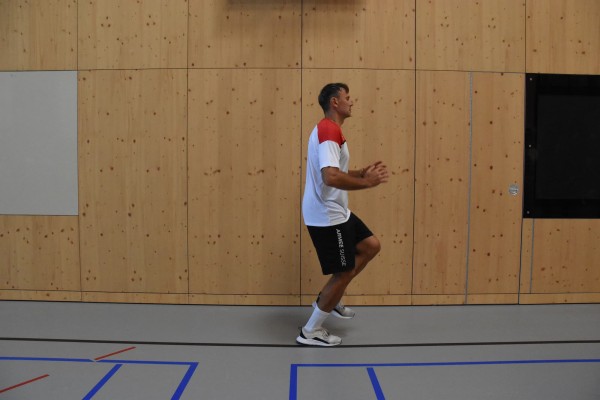
Jump on the spot one-legged (left) (one-legged jump) ► pogo tuck jump
Power
Individual work
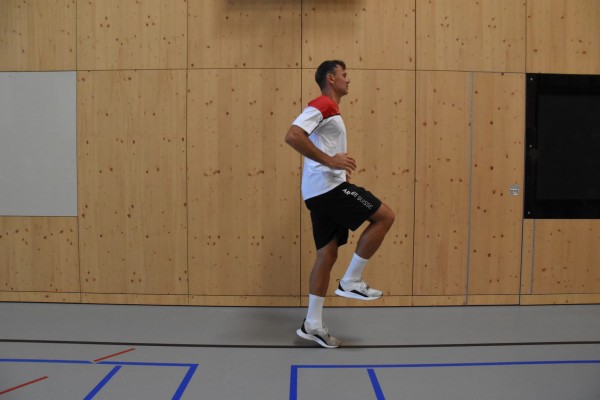


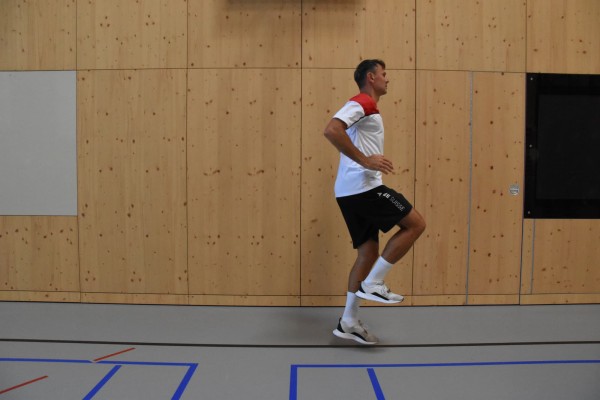
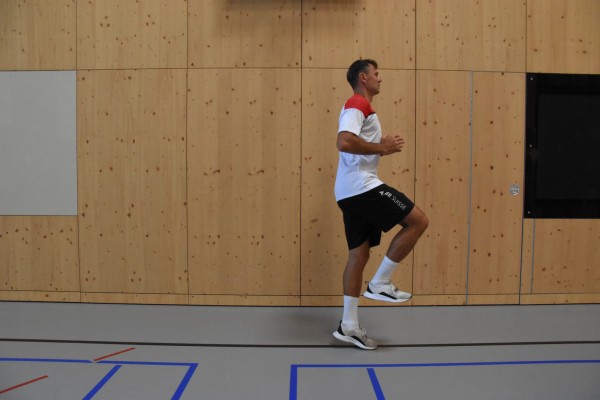
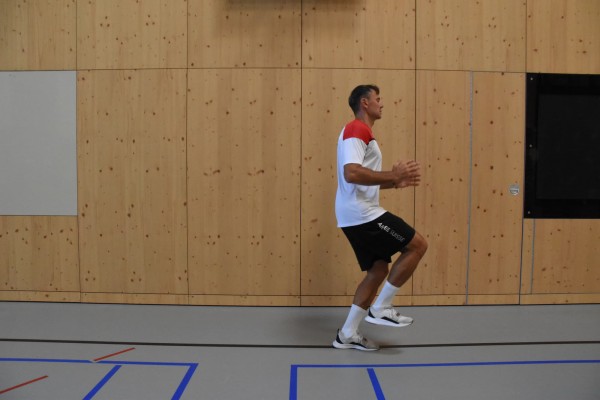
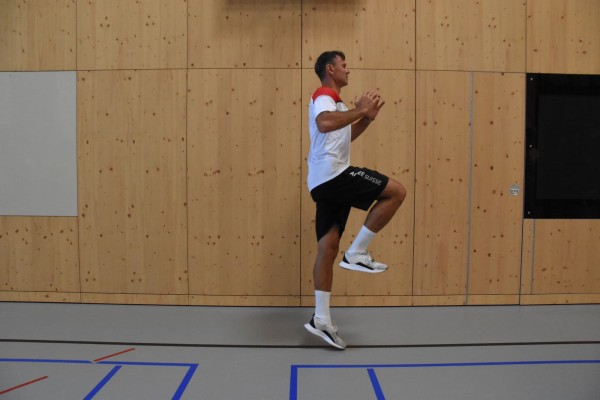
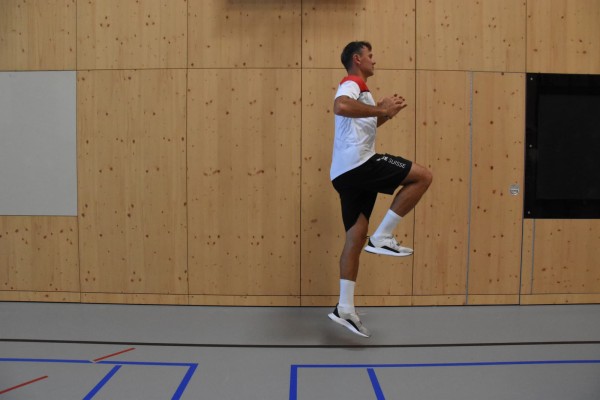
Steady hopping in place on one leg (left) without putting your heel down completely. Every few repetitions (e.g. always after 5 small hops) perform a jump upwards (one-legged jump). The arms can support the jump by pulling them up and overhead when jumping from hip height.
Attention:
Keep your upper body upright (tense your core).
Lighten:
Smaller/less intense jumps into the air.
Harden:
Higher/intensive jumps; additional weight (on your chest/shoulders, hold in your hands, hold in front of you).
Variation:
Pull the tip of your foot towards your knee (bend your foot) with each jump.
1 weight cuff/weight vest/weight disc/(medicine) ball/sandbag/fighting backpack/2 dumbbells ► Make the exercise more difficult (additional weight)
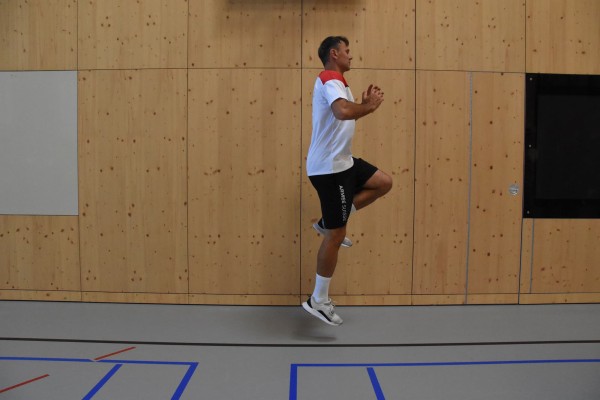
Jump on the spot one-legged (left) (one-legged jump) ► rudiment hop
Power
Individual work
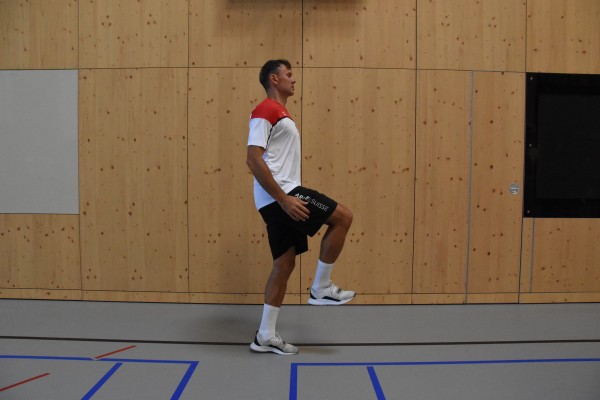
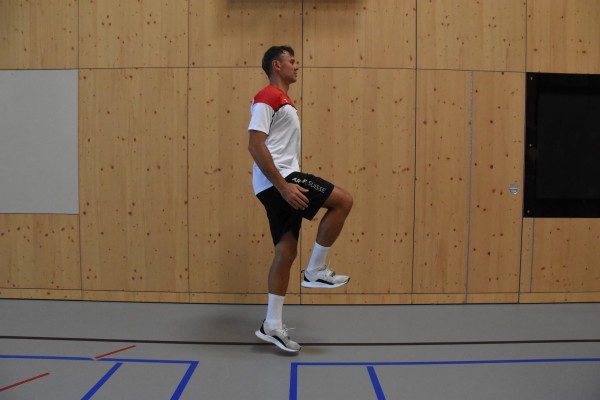
Stand on one leg (left), with the free (right) leg raised (approximately right angle in the knee joint so that the knee is at about hip height in front of the body). Jump steadily in place, putting your heel down completely with each repetition.
Attention:
Keep your upper body upright (keep your core tensed).
Lighten:
Smaller/less intense jumps.
1 weight cuff/weight vest/weight disc/(medicine) ball/sandbag/fighting backpack/2 dumbbells ► Make the exercise more difficult (additional weight)
Jump in place one-legged (right)
Power
Individual work


One-legged stand (right), arms supported on the hips or bent in front of the body. Powerful jump vertically into the air.
Attention:
Keep your upper body upright (keep your core tensed).
Lighten:
Smaller/less intense jumps.
Harden:
Bigger/more intense jumps; additional weight (on your chest/shoulders, hold in your hands, in front of you).
Variation:
With each jump, pull the tips of your feet towards your knees (bend your feet).
1 weight cuff/weight vest/weight disc/(medicine) ball/sandbag/fighting backpack/2 dumbbells ► Make the exercise more difficult (additional weight)
Jump on the spot one-legged (right) (one-legged jump) ► pogo tuck jump
Power
Individual work


Steady hopping in place on one leg (right) without putting your heel down completely. Every few repetitions (e.g. always after 5 small hops) perform a jump upwards (one-legged jump). The arms can support the jump by pulling them up and overhead when jumping from hip height.
Attention:
Keep your upper body upright (tense your core).
Lighten:
Smaller/less intense jumps into the air.
Harden:
Higher/intensive jumps; additional weight (on your chest/shoulders, hold in your hands, hold in front of you).
Variation:
Pull the tip of your foot towards your knee (bend your foot) with each jump.
1 weight cuff/weight vest/weight disc/(medicine) ball/sandbag/fighting backpack/2 dumbbells ► Make the exercise more difficult (additional weight)